A Sandy Crab

Been learning about how to tie crab patterns, experimented with lots of ways to do it.
But have settled on a way that i can make one that i'm happy with.
Easy to cast, quick to sink, flares aggressively like a threatened crab and waves its claws at the fish.
Lots of movement but be durable too.
Hook: Mustad 34007 size 2
Thread: White monocord
Claws: Tan EP fibres
Mouth parts: Pink Holofusion.
Legs: round silicone , from the skirt of a spinner (spare skirts are way cheaper than buying specific legs)
Body: Cream EP fibres with a few strands of Tan
Eyes: Small dumbells in either nickel or gold
Back/belly: Z-poxy allowed to soak in.
Step 1: Select a hook.
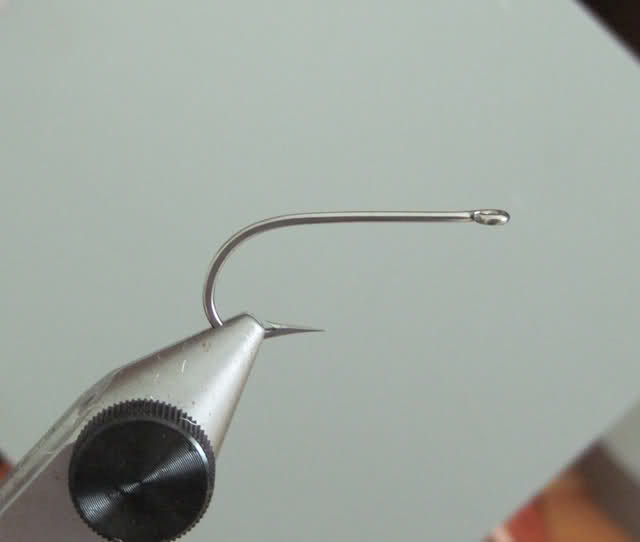
Step 2: Bend the eye a bit as shown.
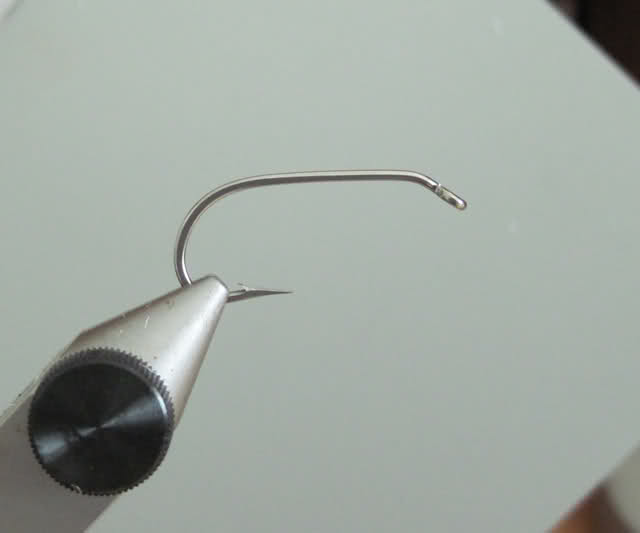
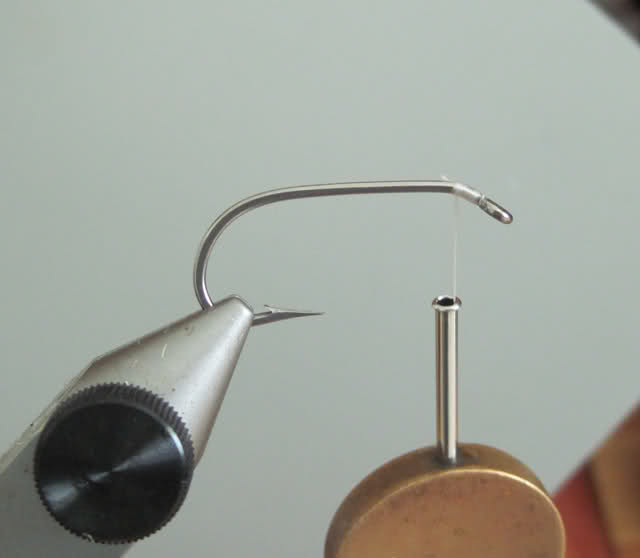
Step 3: Begin with the thread on the bent section.
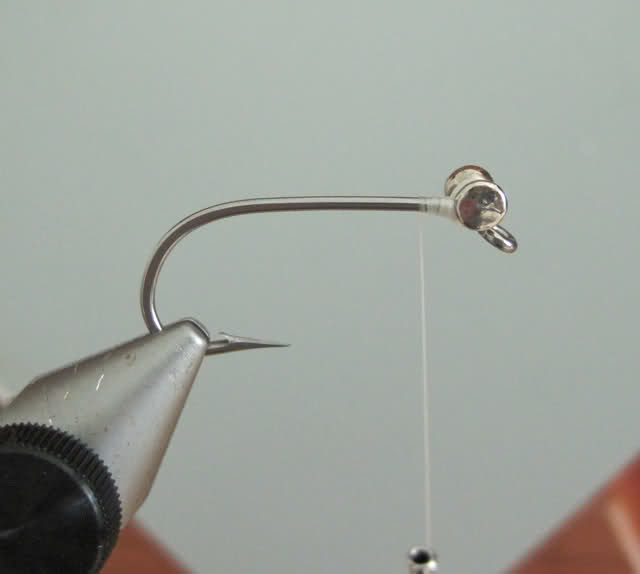
Step 4: Tie in dumbells with figure of eight wraps.
Step 5: Tie in a length of Tan EP , so the fibres extend the same length as the shank of the hook.
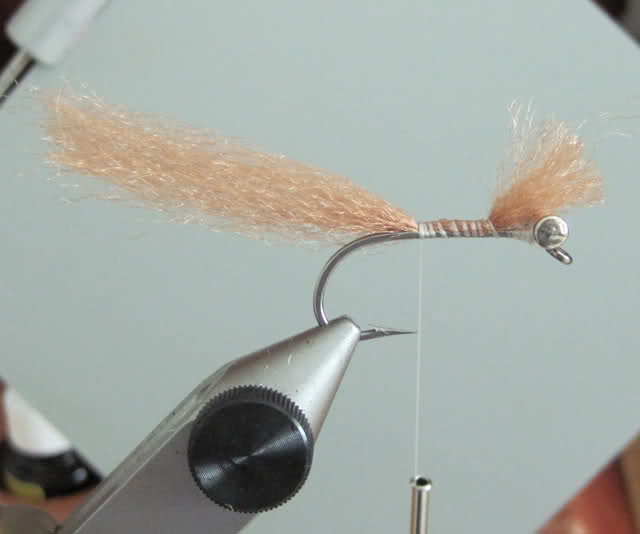
Step 6: Split the EP into 2 bunches and figure of eight between them to seperate them.
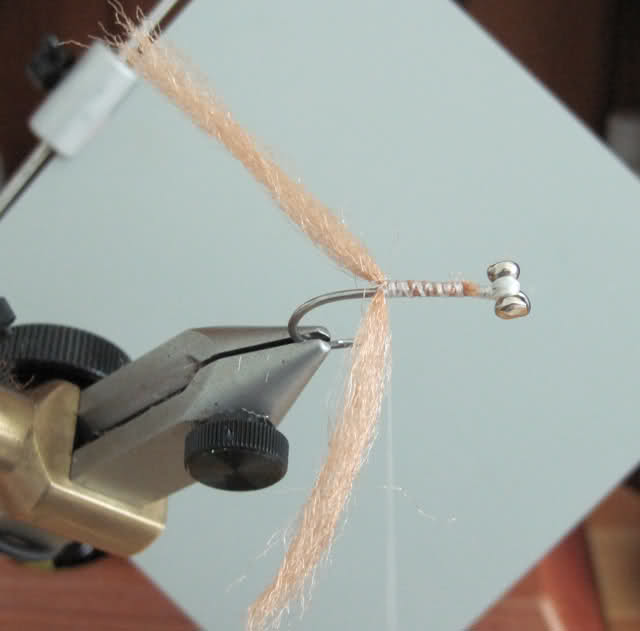
Step 7: Tie in a few strands of holofusion between the two bunches of EP
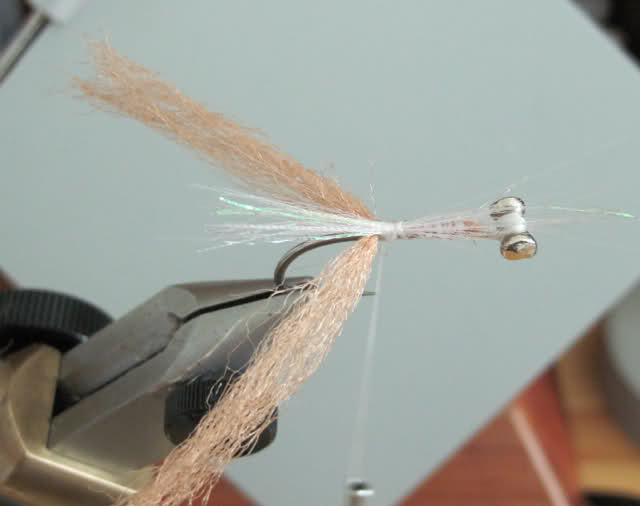
Step 8: Pull back the EP and tie down some of the holofusion behind the EP, it helps to keep the claws apart and looks like the mouth parts of the crab.
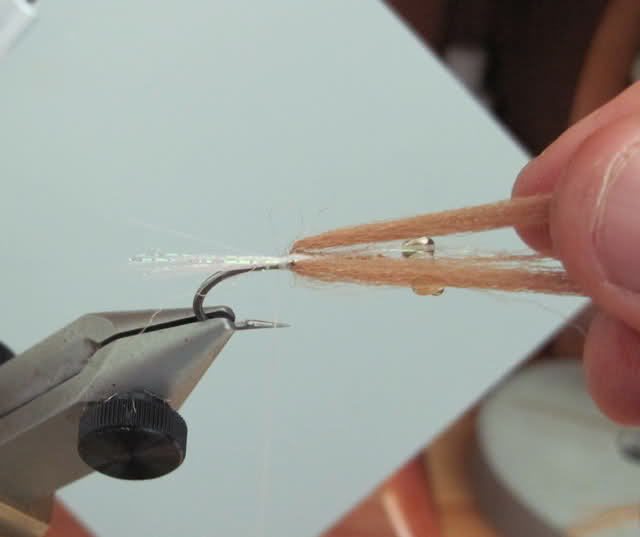
Step 9: Tie down the holofusion and finish behind the eyes. Trim the claws.
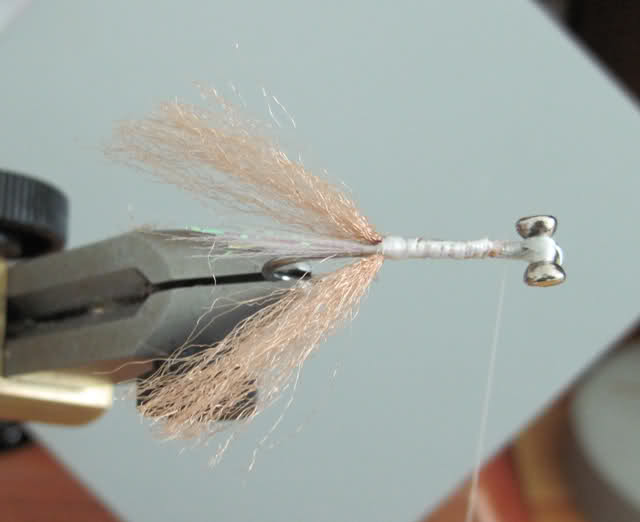
Step 10: Hit the tips of the claws with a brown marker, for some definition.
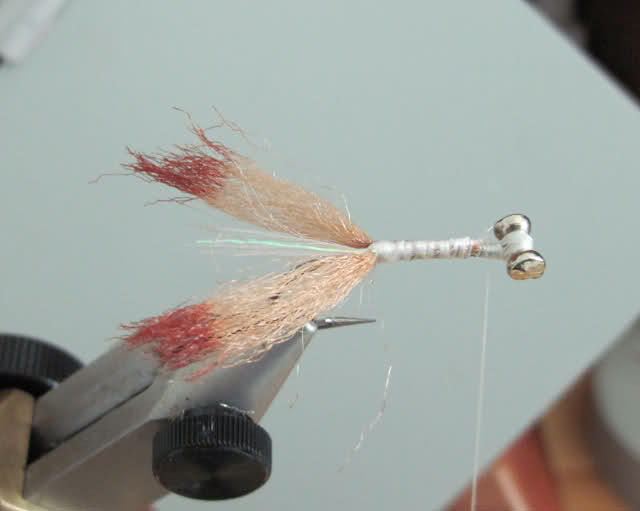
Step 11: Tie in the first legs, as shown with figure of eight wraps, so they stick out horizontally.
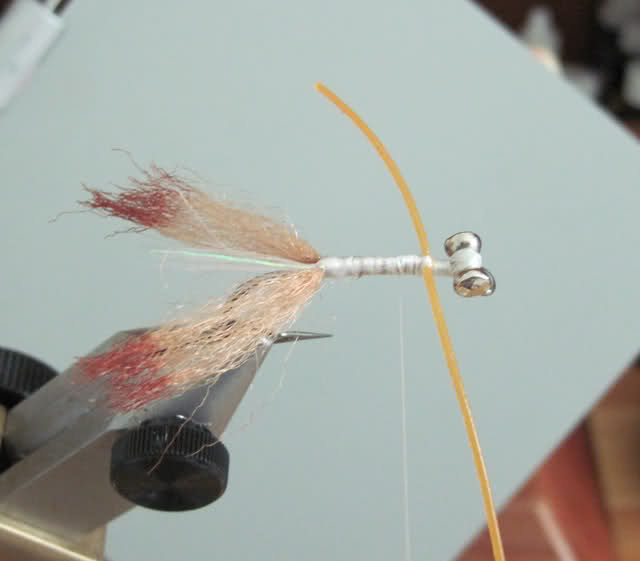
Step 12: Tie in the other legs as shown, the same way. Try to evenly space them along the shank (but its not essential)
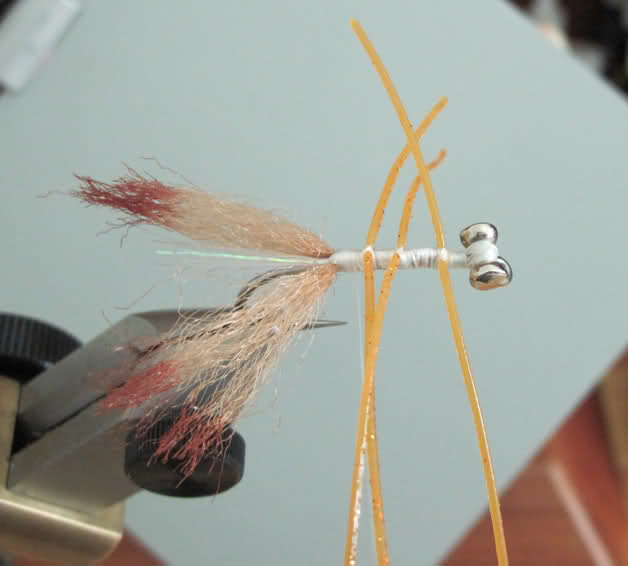
Step 13: Form a dubbing loop at the claws end of the fly. Take the thread back to the eyes and hold the spool out of the way
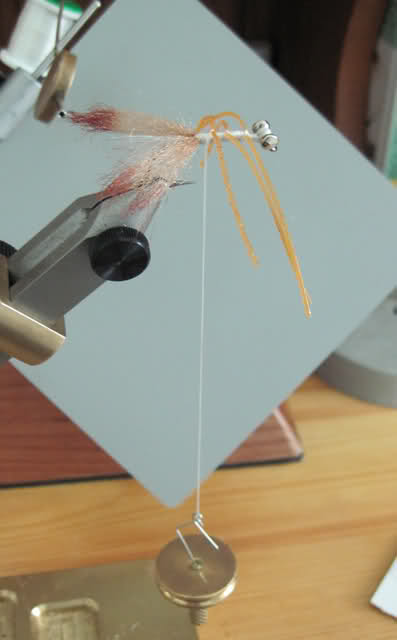
Step 14: Take a full length of Cream EP fibres about this thickness.
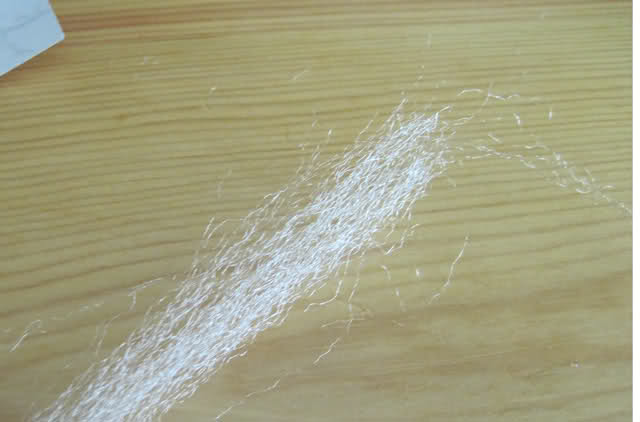
Step 15: cut the EP into small section and put them together like this, mix in some brown sparsely.
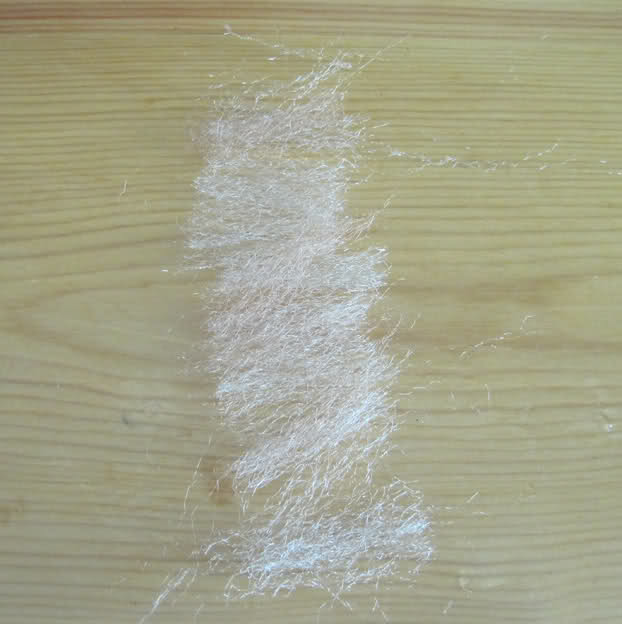
Step 16: Put the fibres into the dubbing loop.
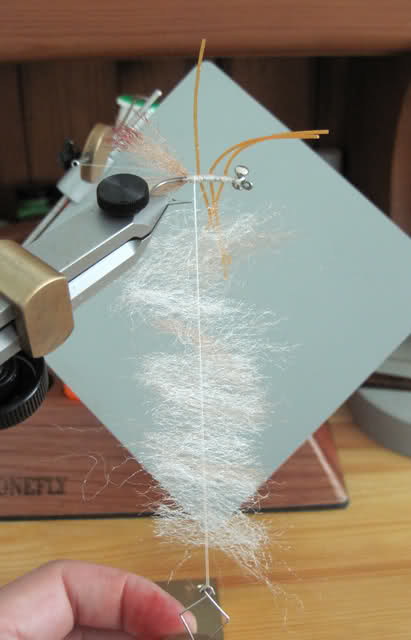
Step 17: Hold the legs and claws out of the way, so you can spin the twister without catching them.
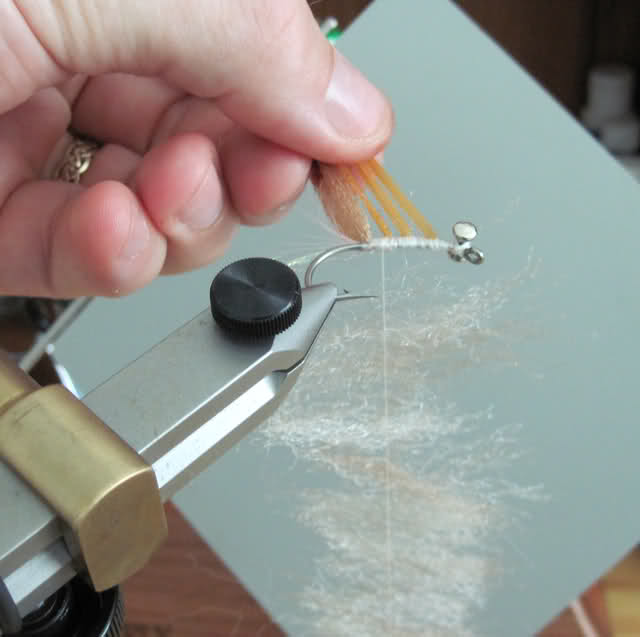
Step 18: Spin the loop.
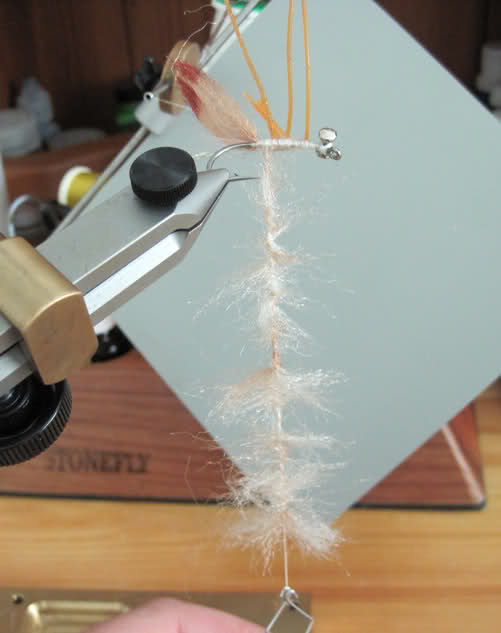
Step 19: Stroke the spun rope for the fibres to stick out, free any that are trapped with a dubbing needle.
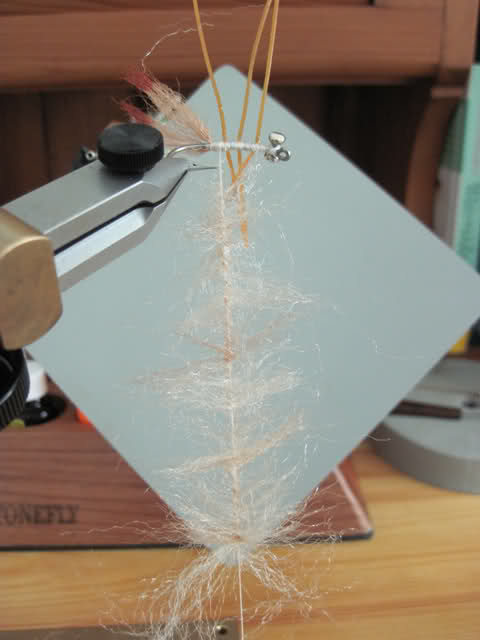
Step 20. Pull the back legs forward and make 2 full turns making sure the fibres don't get trapped.
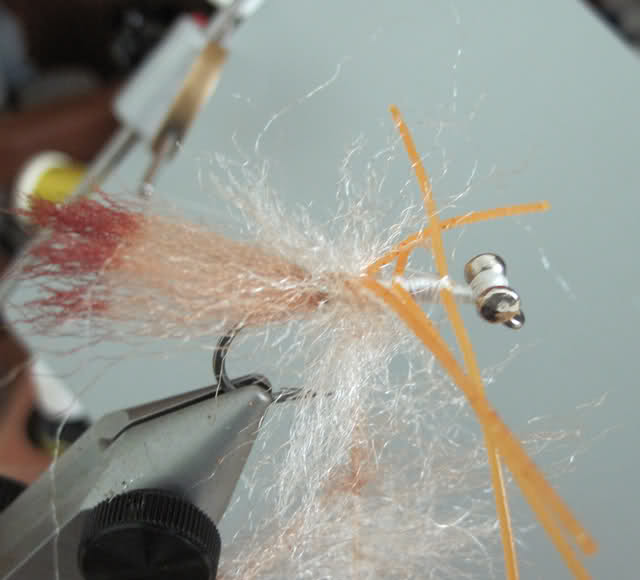
Step 21: Pull the legs back and make two turns between the legs, repeat this again for the next set of legs and then make a further two turns between last set of legs and the eyes. Tie it down.
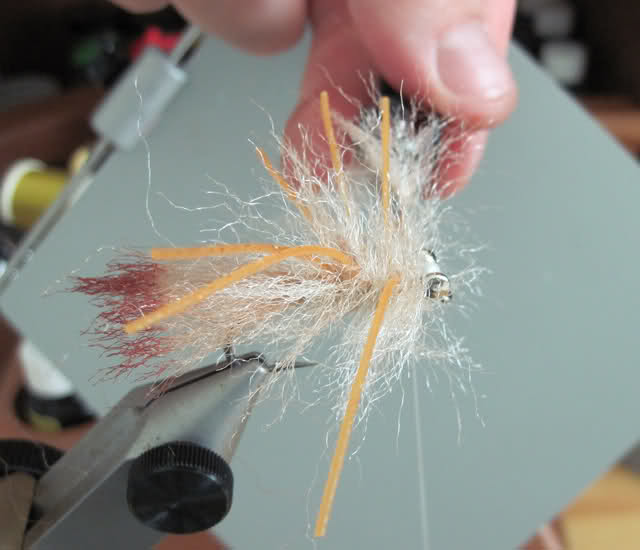
Step 22: Turn fly on its side and pull the legs away, gently brush the fibres out ready to be trimmed.
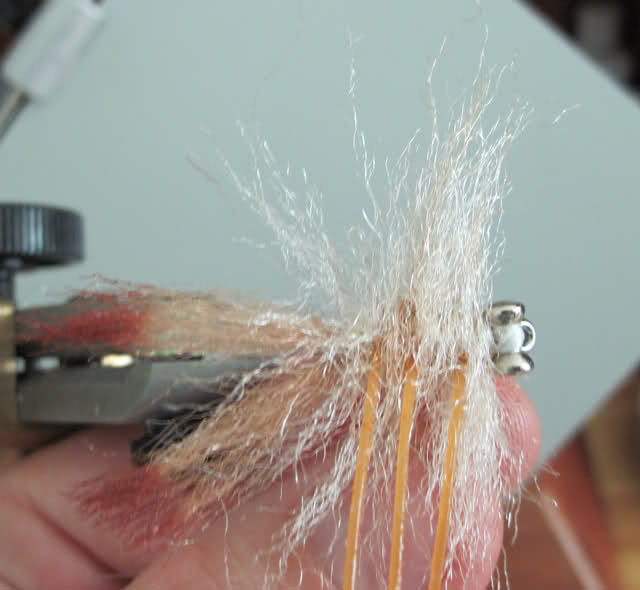
Step 23: Trim the ends so they form a nice curve like this.
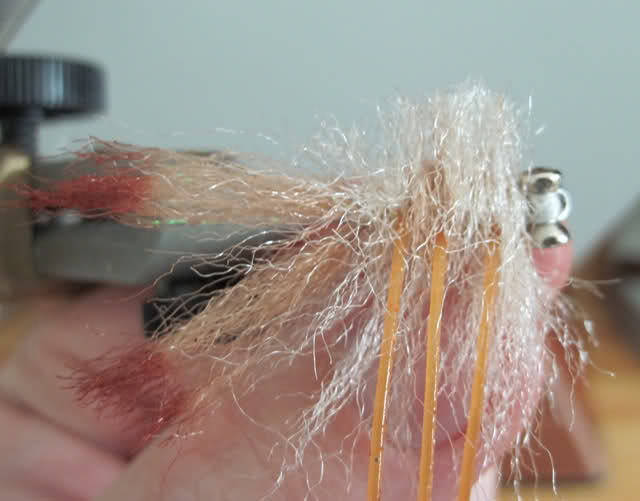
Step 24: Leg the legs go and then repeat for the other side.
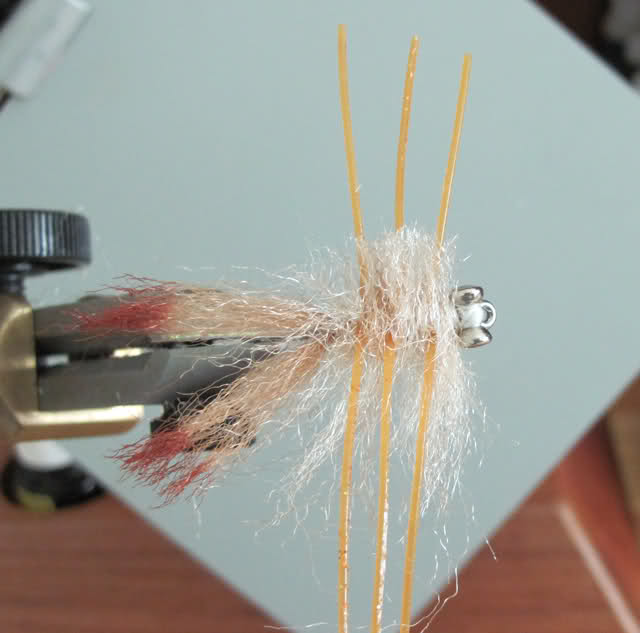
Step 25: Clip the back of the fly (which is it's belly) so it is flat.
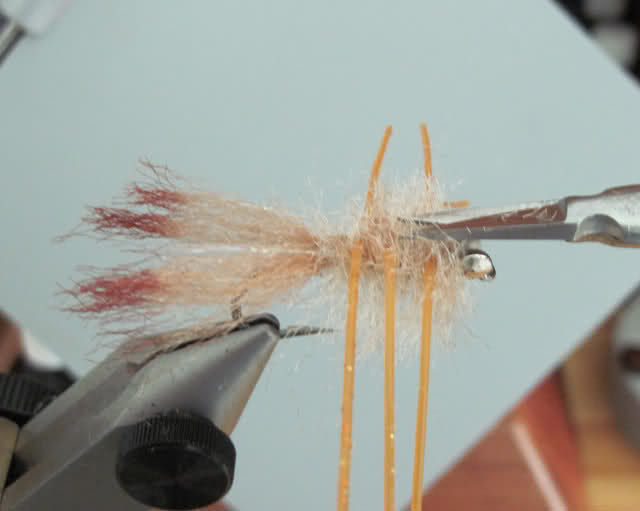
Step 26: Turn fly over and clip the other side to a slight dome, this is the carapace.
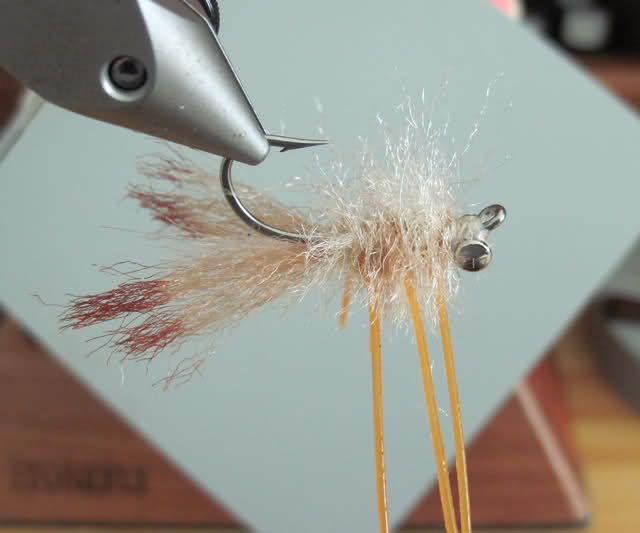
Step 27: Clipped fly should now look something like this.
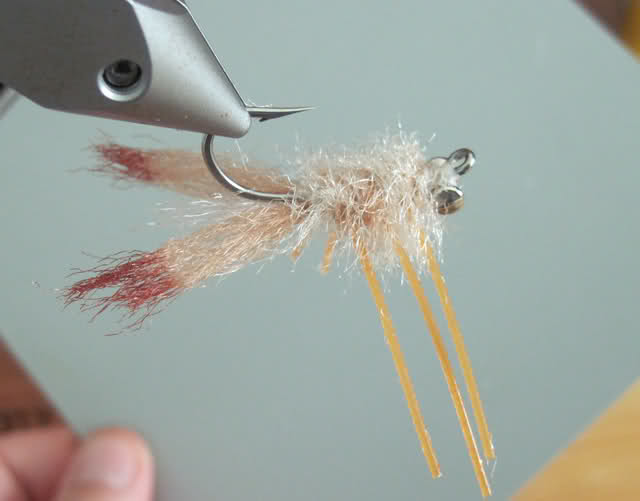
Step 28: Mix up some epoxy and apply to the Dumbells area first.
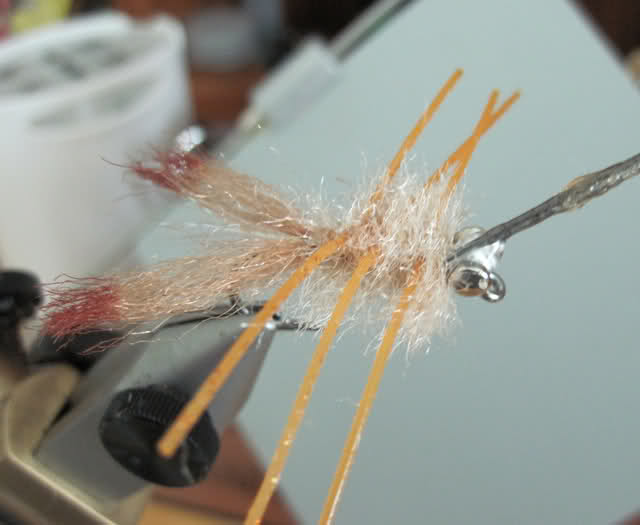
Step 29: Apply some more epoxy to the back of the fly, just down the middle though, let it soak into the fibres. Be careful not to get any on the edges.
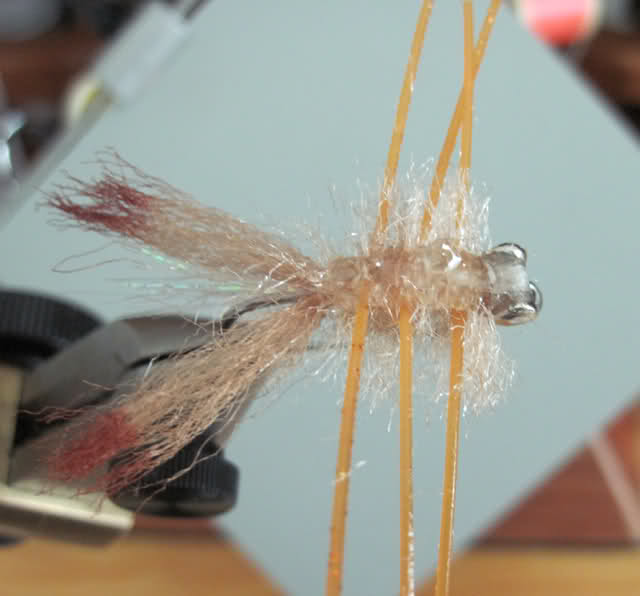
Step 30: Do the same to the other side of the fly, again just down the middle.
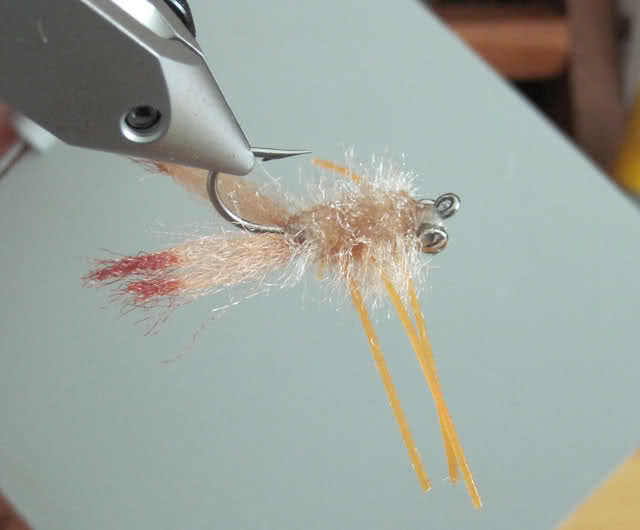
Step 31: Once it soaks in nicely, like this.
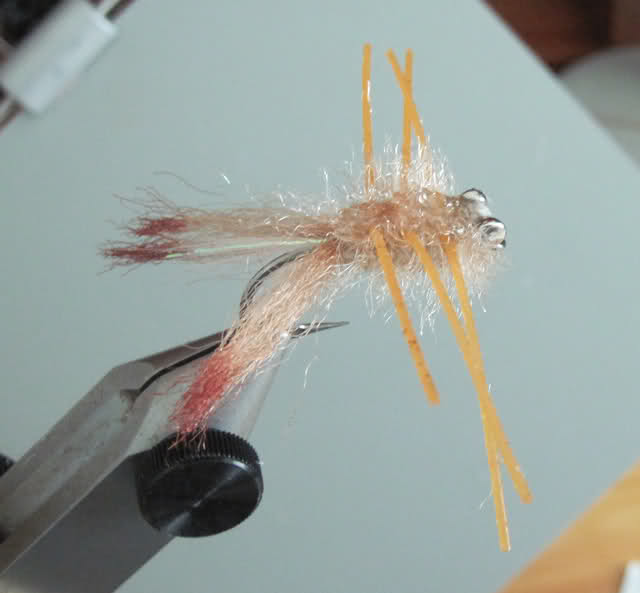
Step 32: Put the crab on dryer and leave to turn, until dry.
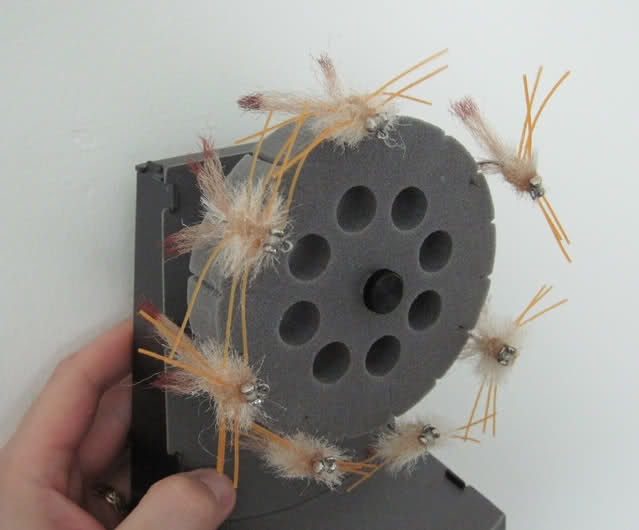
Once finished the crab looks like this.
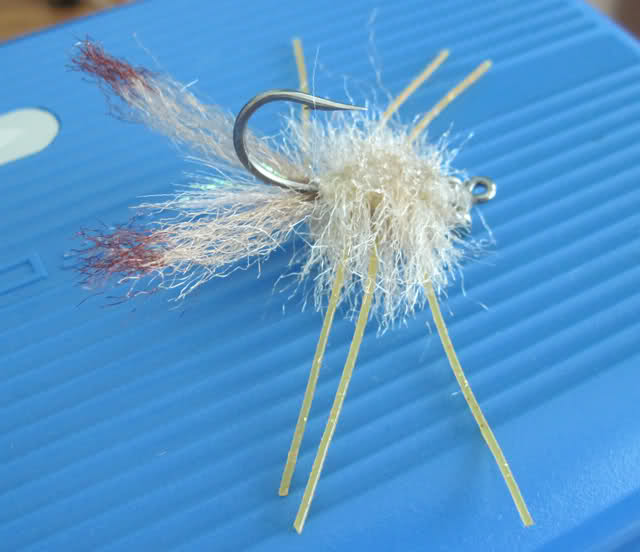
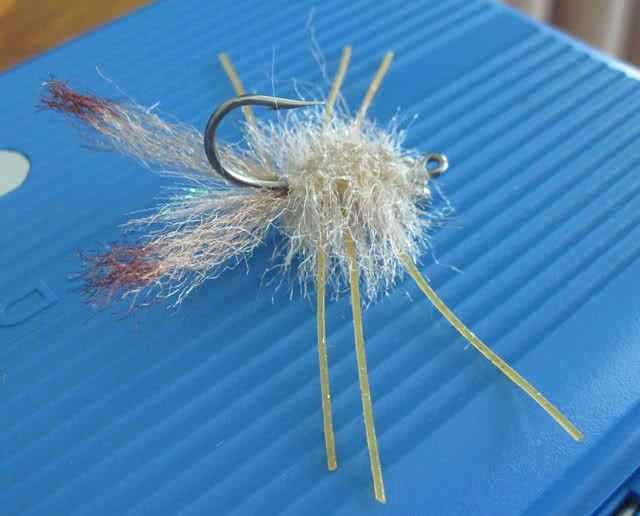
The kink in the hook and the eyes in that place , make the fly sink and sit at 45' to the bottom, this throws the claws out in a defensive pose as it hits the bottom. When you tweek it, it should kick up some sand and wave its claws and legs about like its trying to burrow into the sand.
There has been a lot of tank testing to get the fly to sink and sit right, as the presentation seems to be the key.
The movement is something i could not live without, stuff should look alive. I'm very happy with it as a wee fly, hopefully it will get a proper test against some Golden Trevally in the next couple of weeks.

Sandy

