Sorry to dissapoint but this is not a post on Fetishes involving the disabled

With a good few of you expressing a desire to build your own rod, or in the process even. I thought given it is crappy weather again.
And i've had enough of cane for a few days, i'd attempt to put a guide together for whipping rod rings.
So here we go, i have used contrasting colours so it is easier to see what is going on

Step 1. File the edges of the ring so there is a nice bevelled edge and no sharp bits.
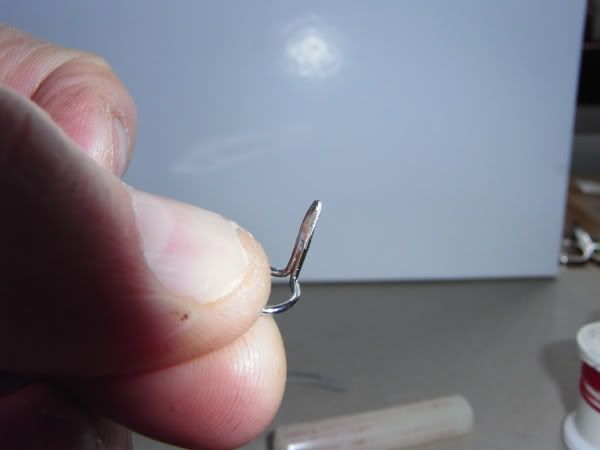
Step 2. Heat the foot of the ring with a lighter , do not burn your fingers

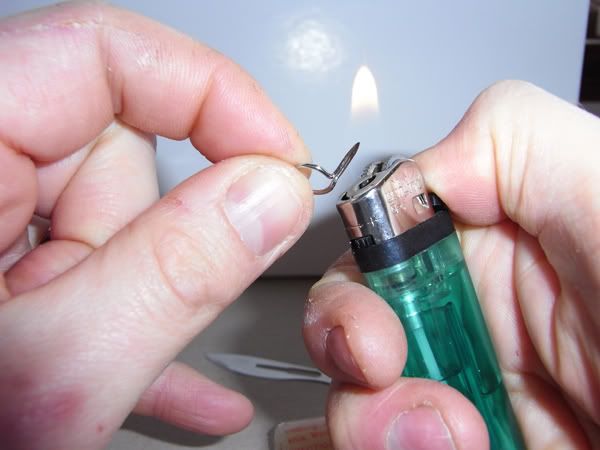
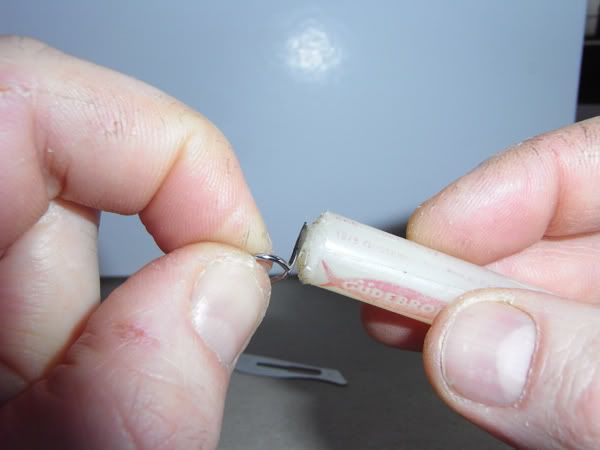
Step 3. Touch the hot foot on the tip of a stick of hot melt glue, a very quick wipe is enough.
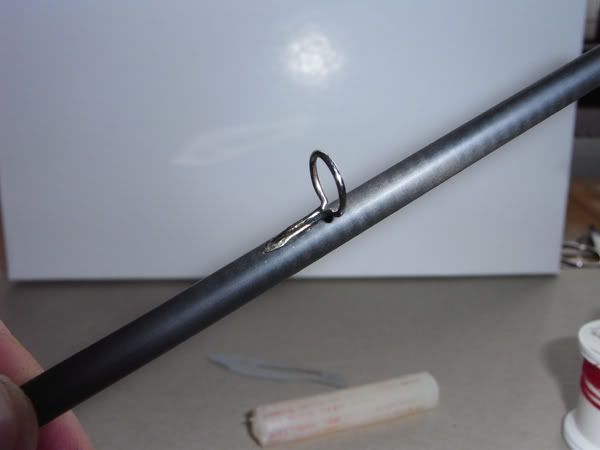
Step 4. Position the ring in the correct plane on the blank, you should have enough time to get the ring into the right spot, if not flash it with the lighter to soften the glue and do it again.
Step 5. Trap the end of the thread under the first couple of turns, like tying a fly. try to do this approx 4-5 turns from the point of the foot.
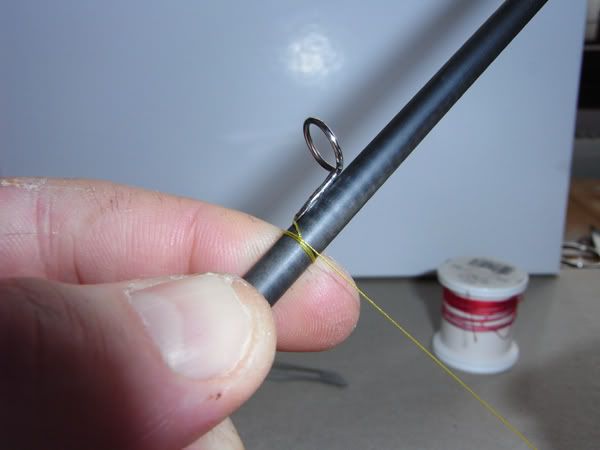
Step 6. Slowly wrap forward with touching turns. I turn the blank , holding the thread at an angle so it butts against the last wrap.

Step 7. If a small gap opens up, then gently push the thread down using a finger nail, just enough to close the gap.

Step 8. Make sure it is even all the way round the blank.

Step 9. Continue with touching turns

Step 10. Again if any gaps open up, push them down with the nail. Continue up to about 5-6 turns short of the base of the ring

Step 11. Catch in a loop of thread, if possible use a contrasting colour it makes it easier to pick out if it snaps.

Step 12. Make sure the loop is opposite the ring

Step 13. Wrap approx 6-7 times right up to the base of the ring, without overlapping, this time there is no need to push the thread down, leave the gap


Step 14. Leave a nice long tag when you cut the thread and keep it tight.


Step 15. use your finger to hold the wraps tight and put the tag end through the loop.

Step 16. Carefully pull the loop whilst still holding the wraps tight, till the tag comes through the wrapping

Step 17. Pull the tag all the way through, keeping the wrap tight with the finger

Step 18. Hold the sharp scalpal blade flat against the wrapping, and hold the tag tight

Step 19. Keeping the blade flat slice the tag end at the exit point

Step 20. If you held it tight the thread should recoil slightly back under the wrap

Step 21. With your Nail again push the thread to close the gap

Step 22. The wrapping should look something like this

Step 23. Burnish the whipping with either a tool or the back of your nail, this smoothes the thread out and fills any micro gaps still remaining

Step 24. Very carefully flash the wrapping with a lighter to "Fuzz burn" any tiny fibres sticking up, this is a very quick flash as the thread will melt and ruin the wrap, if you take to long.

Step 25. The finished wrap, no lumps, bumps or gaps, ready for a couple of thin coats of epoxy

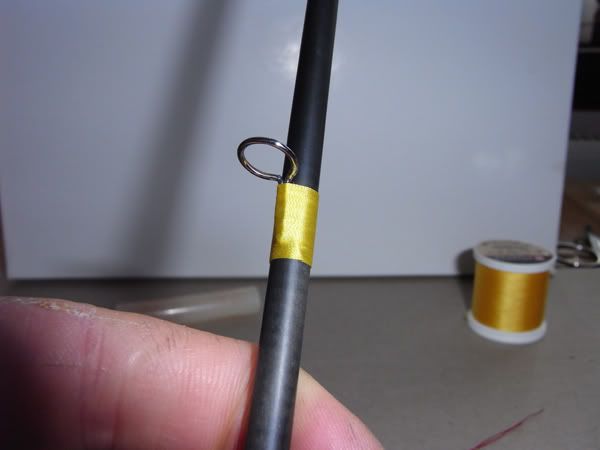
.
Hope this gives a decent idea of whats involved, with a standard snake, i tape one leg and whip the other, then reverse the blank and do the other leg

Sandy

